Installing Rancher Prime PAYG on Azure
This page covers installing the Rancher Prime PAYG offering on Microsoft's Azure Marketplace.
How to Install Rancher Prime PAYG
The following steps describe how to create a new deployment of Rancher Prime from the Azure Marketplace page.
- Select the Rancher Prime with 24x7 Support offer (either EU and UK only or non-EU and non-UK only) that corresponds to the location where your account is registered.
- Choose a plan from the dropdown menu. View the Plans + Pricing tab for more details about the plan.
- Select Create.
Basics
On the Basics tab, specify the Project details and Instance details:
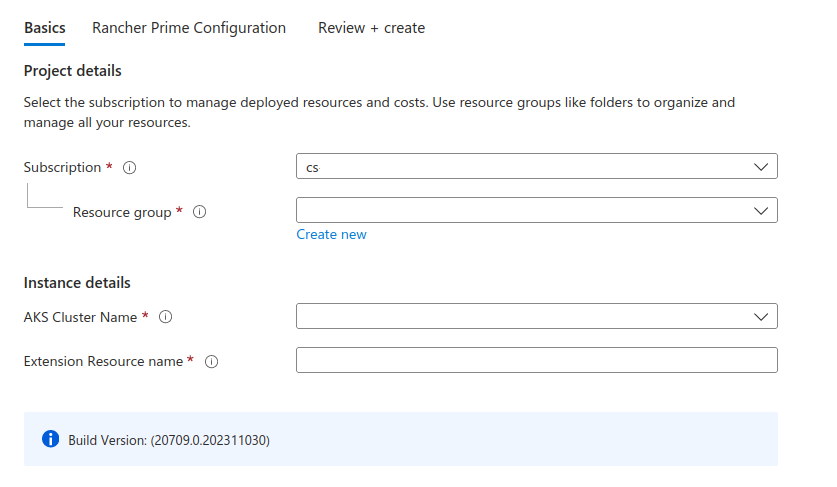
Select an existing Subscription from the dropdown menu.
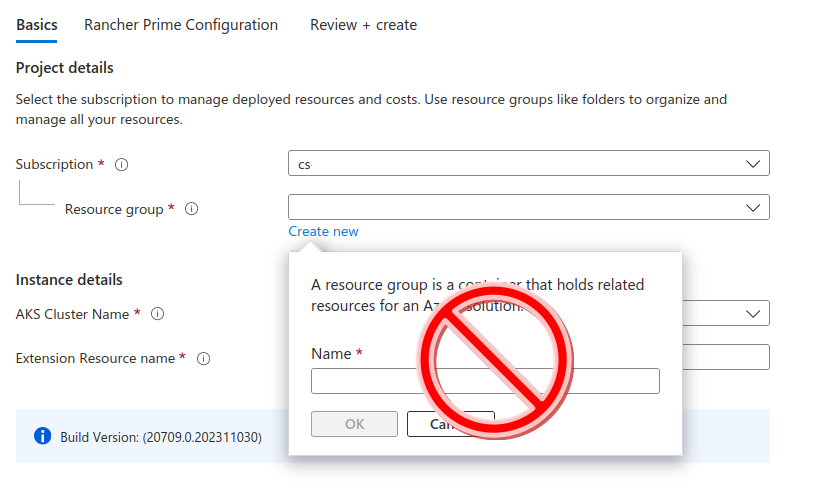
Select an existing Resource group from the dropdown menu.
noteThe Create new resource group feature is not supported.
Select an existing AKS Cluster Name from the dropdown menu.
Choose an Extension Resource name. It can consist of alphanumeric characters and dots and must be between 2 and 253 characters long.
Select Next.
Rancher Configuration
On the Rancher Configuraion tab, specify the following information:
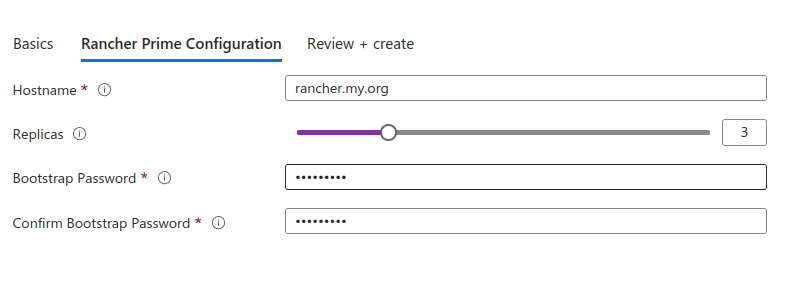
Enter the Hostname for Rancher. The Rancher hostname must be a fully qualified domain name (FQDN). The Rancher server URL will be created using this hostname.
noteThe IP address of the Rancher hostname must be resolvable by a public DNS.
Using the slider, select the number of Replicas.
Choose and confirm a Bootstrap Password. During the first login, you will use the bootstrap password to authenticate to the Rancher dashboard.
noteThe current Rancher deployment exposes the bootstrap password in the Cluster configuration settings in the Azure Portal. Until this security issue is resolved, we suggest changing the Admin password after initial login, by editing your profile in the Rancher dashboard.
Select Next.
Review + create
- On the Review + create tab, review the summary of the offer (Price, Basics, Rancher Configuration) and the link to view automation template (Azure Resource Manager Template).
- Select Create to start the deployment.
Deployment Complete
When the deployment successfully completes, Rancher Prime will be installed.
On the Extensions + applications page, the Provisioning State may show Succeeded even though the deployment may still be in progress. You can monitor the deployment progress by logging into the AKS cluster and looking at the rancher-cloud deployment.
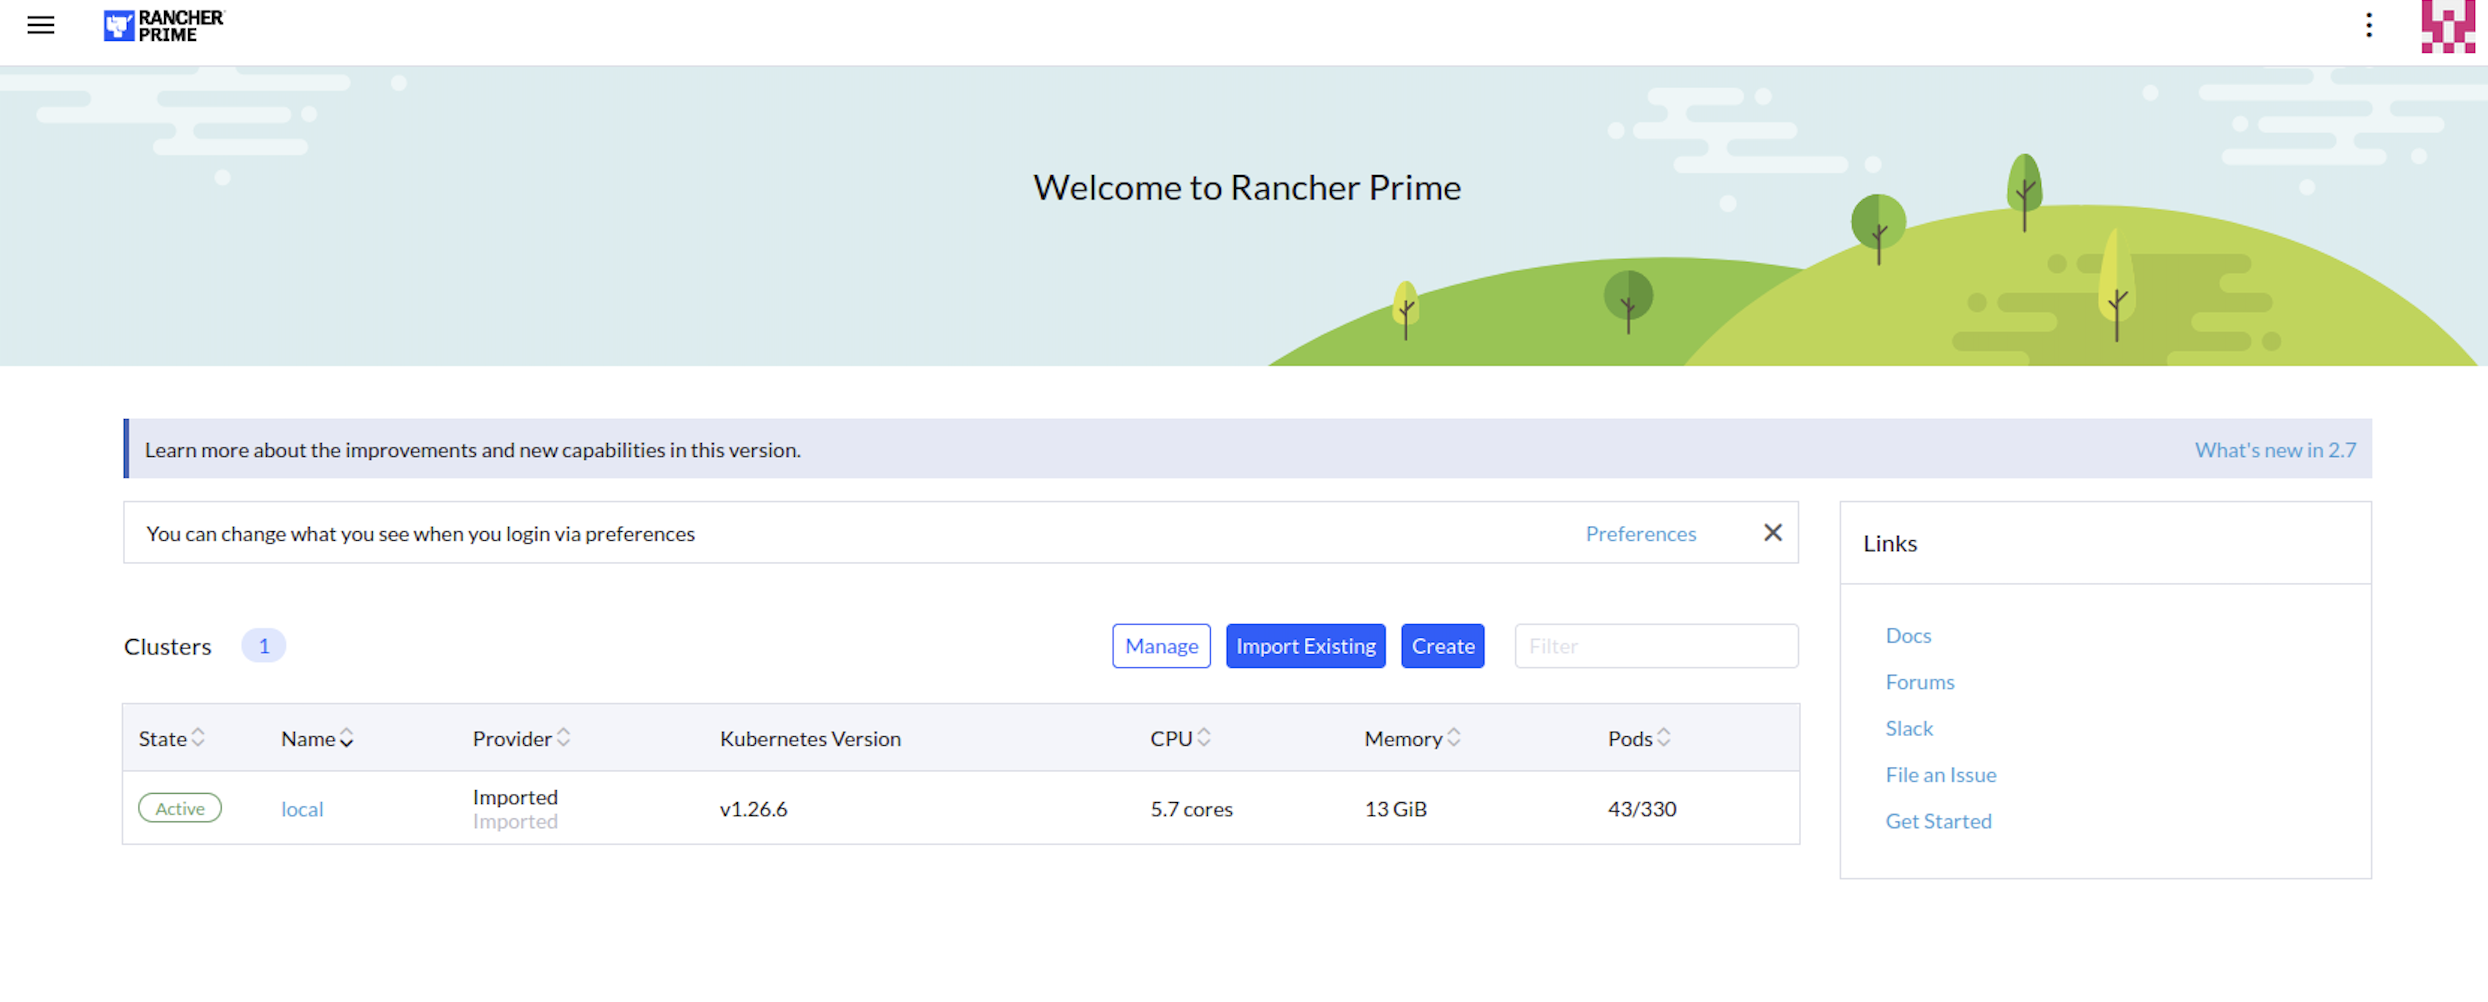
Log into the Rancher Dashboard
You may now log in to the Rancher dashboard by pointing your browser to the Rancher server URL https://<host-name>. The <host-name> is the hostname you entered when you configured Rancher.
The Rancher hostname must be resolvable by public DNS. See the Prerequisites for more details.
How to Use Rancher
After you login to Rancher Prime, you should notice the Welcome to Rancher Prime message at the top of the screen.
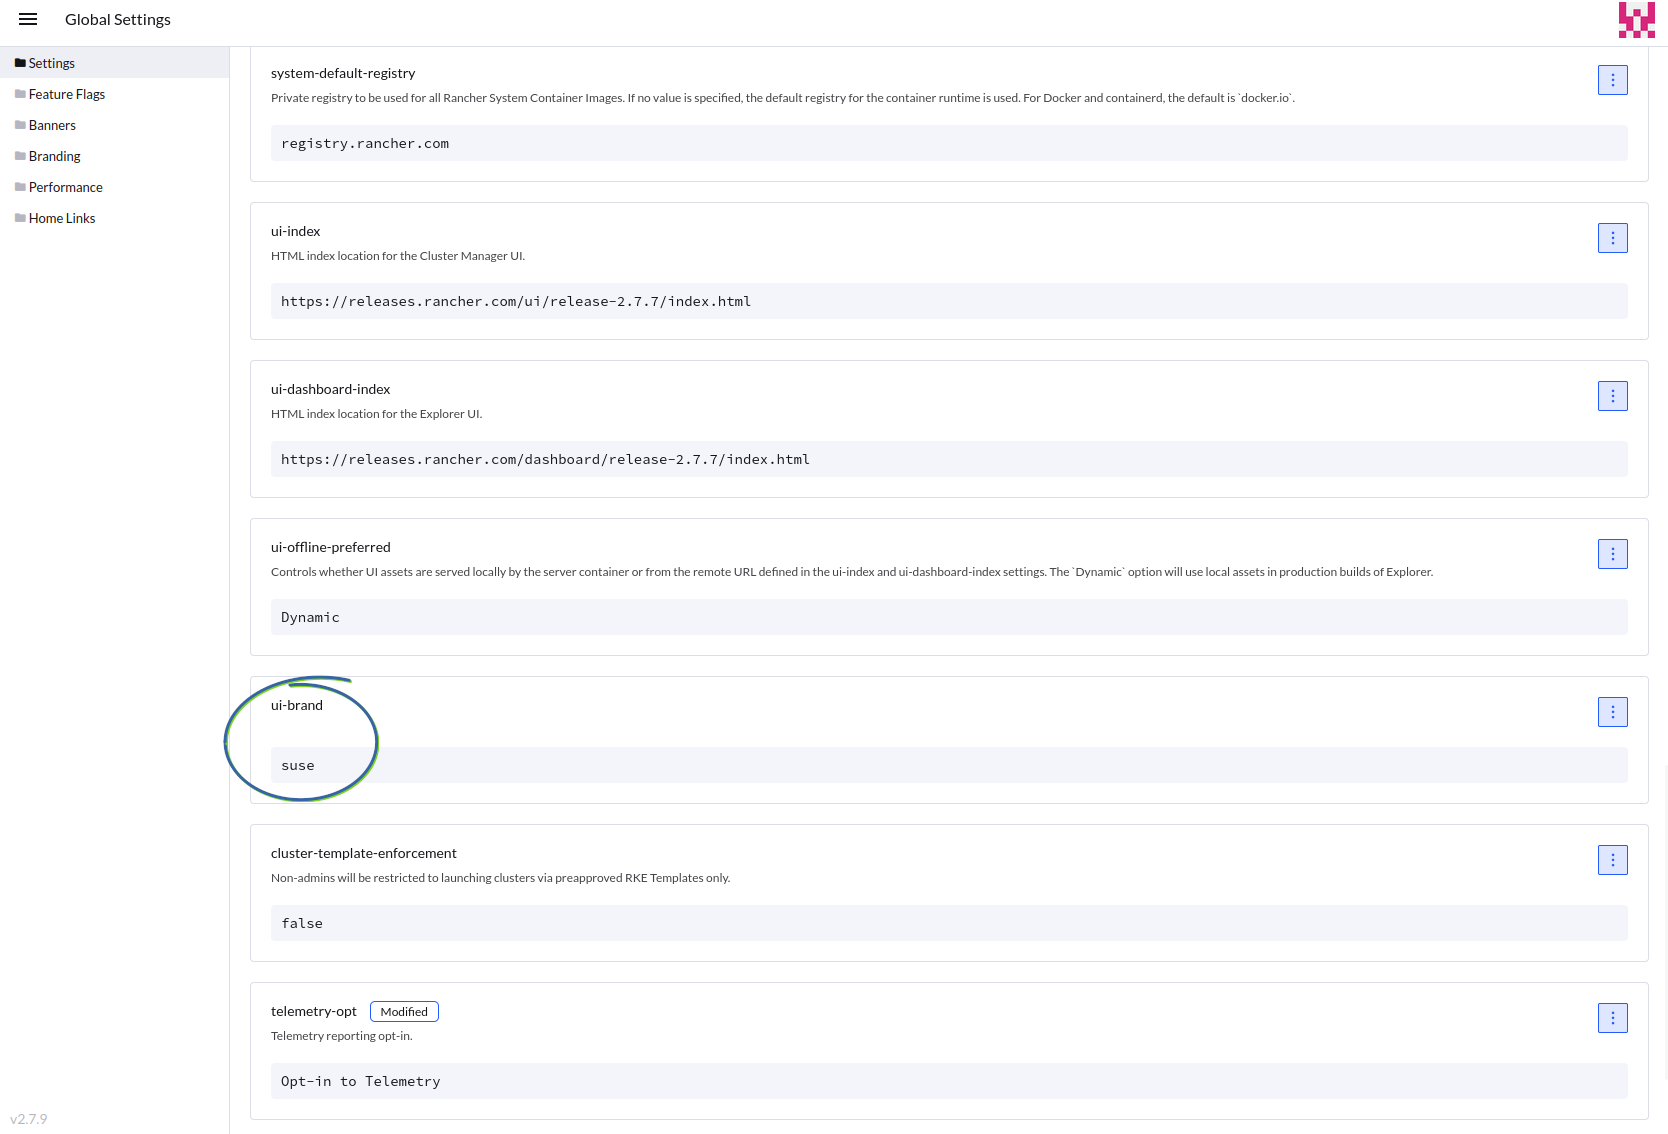
If your Rancher Prime PAYG deployment only has Welcome to Rancher at the top of the screen, make sure that you've updated to the latest version, and reset the branding to default (i.e., "suse") from Global Settings.
Rancher Prime PAYG Billing
View billing information in the Azure Portal by going to Home > Cost Management (subscription) | Cost analysis.
Uninstalling Rancher Prime PAYG Offering
Uninstalling Rancher Prime may not remove all of the Kubernetes resources created by Rancher. Run the Rancher resource cleanup script to perform a more comprehensive cleanup.
The best practice for uninstalling the Rancher Prime PAYG offering is to migrate any non-Rancher workloads to a different cluster and destroy the Rancher cluster.
Ensure that you prepare and migrate any non-Rancher workloads off of the cluster before you destroy the cluster. These resources are nonrecoverable.